
We’re working to collect as much data as possible to give you a complete historical overview of your bank account. However, sometimes there are limits to how much data can be imported automatically.
Here’s how you can easily add more historical data from your bank account to re:cap.
Add data via manual upload
1. Uploading your XLS/CSV file
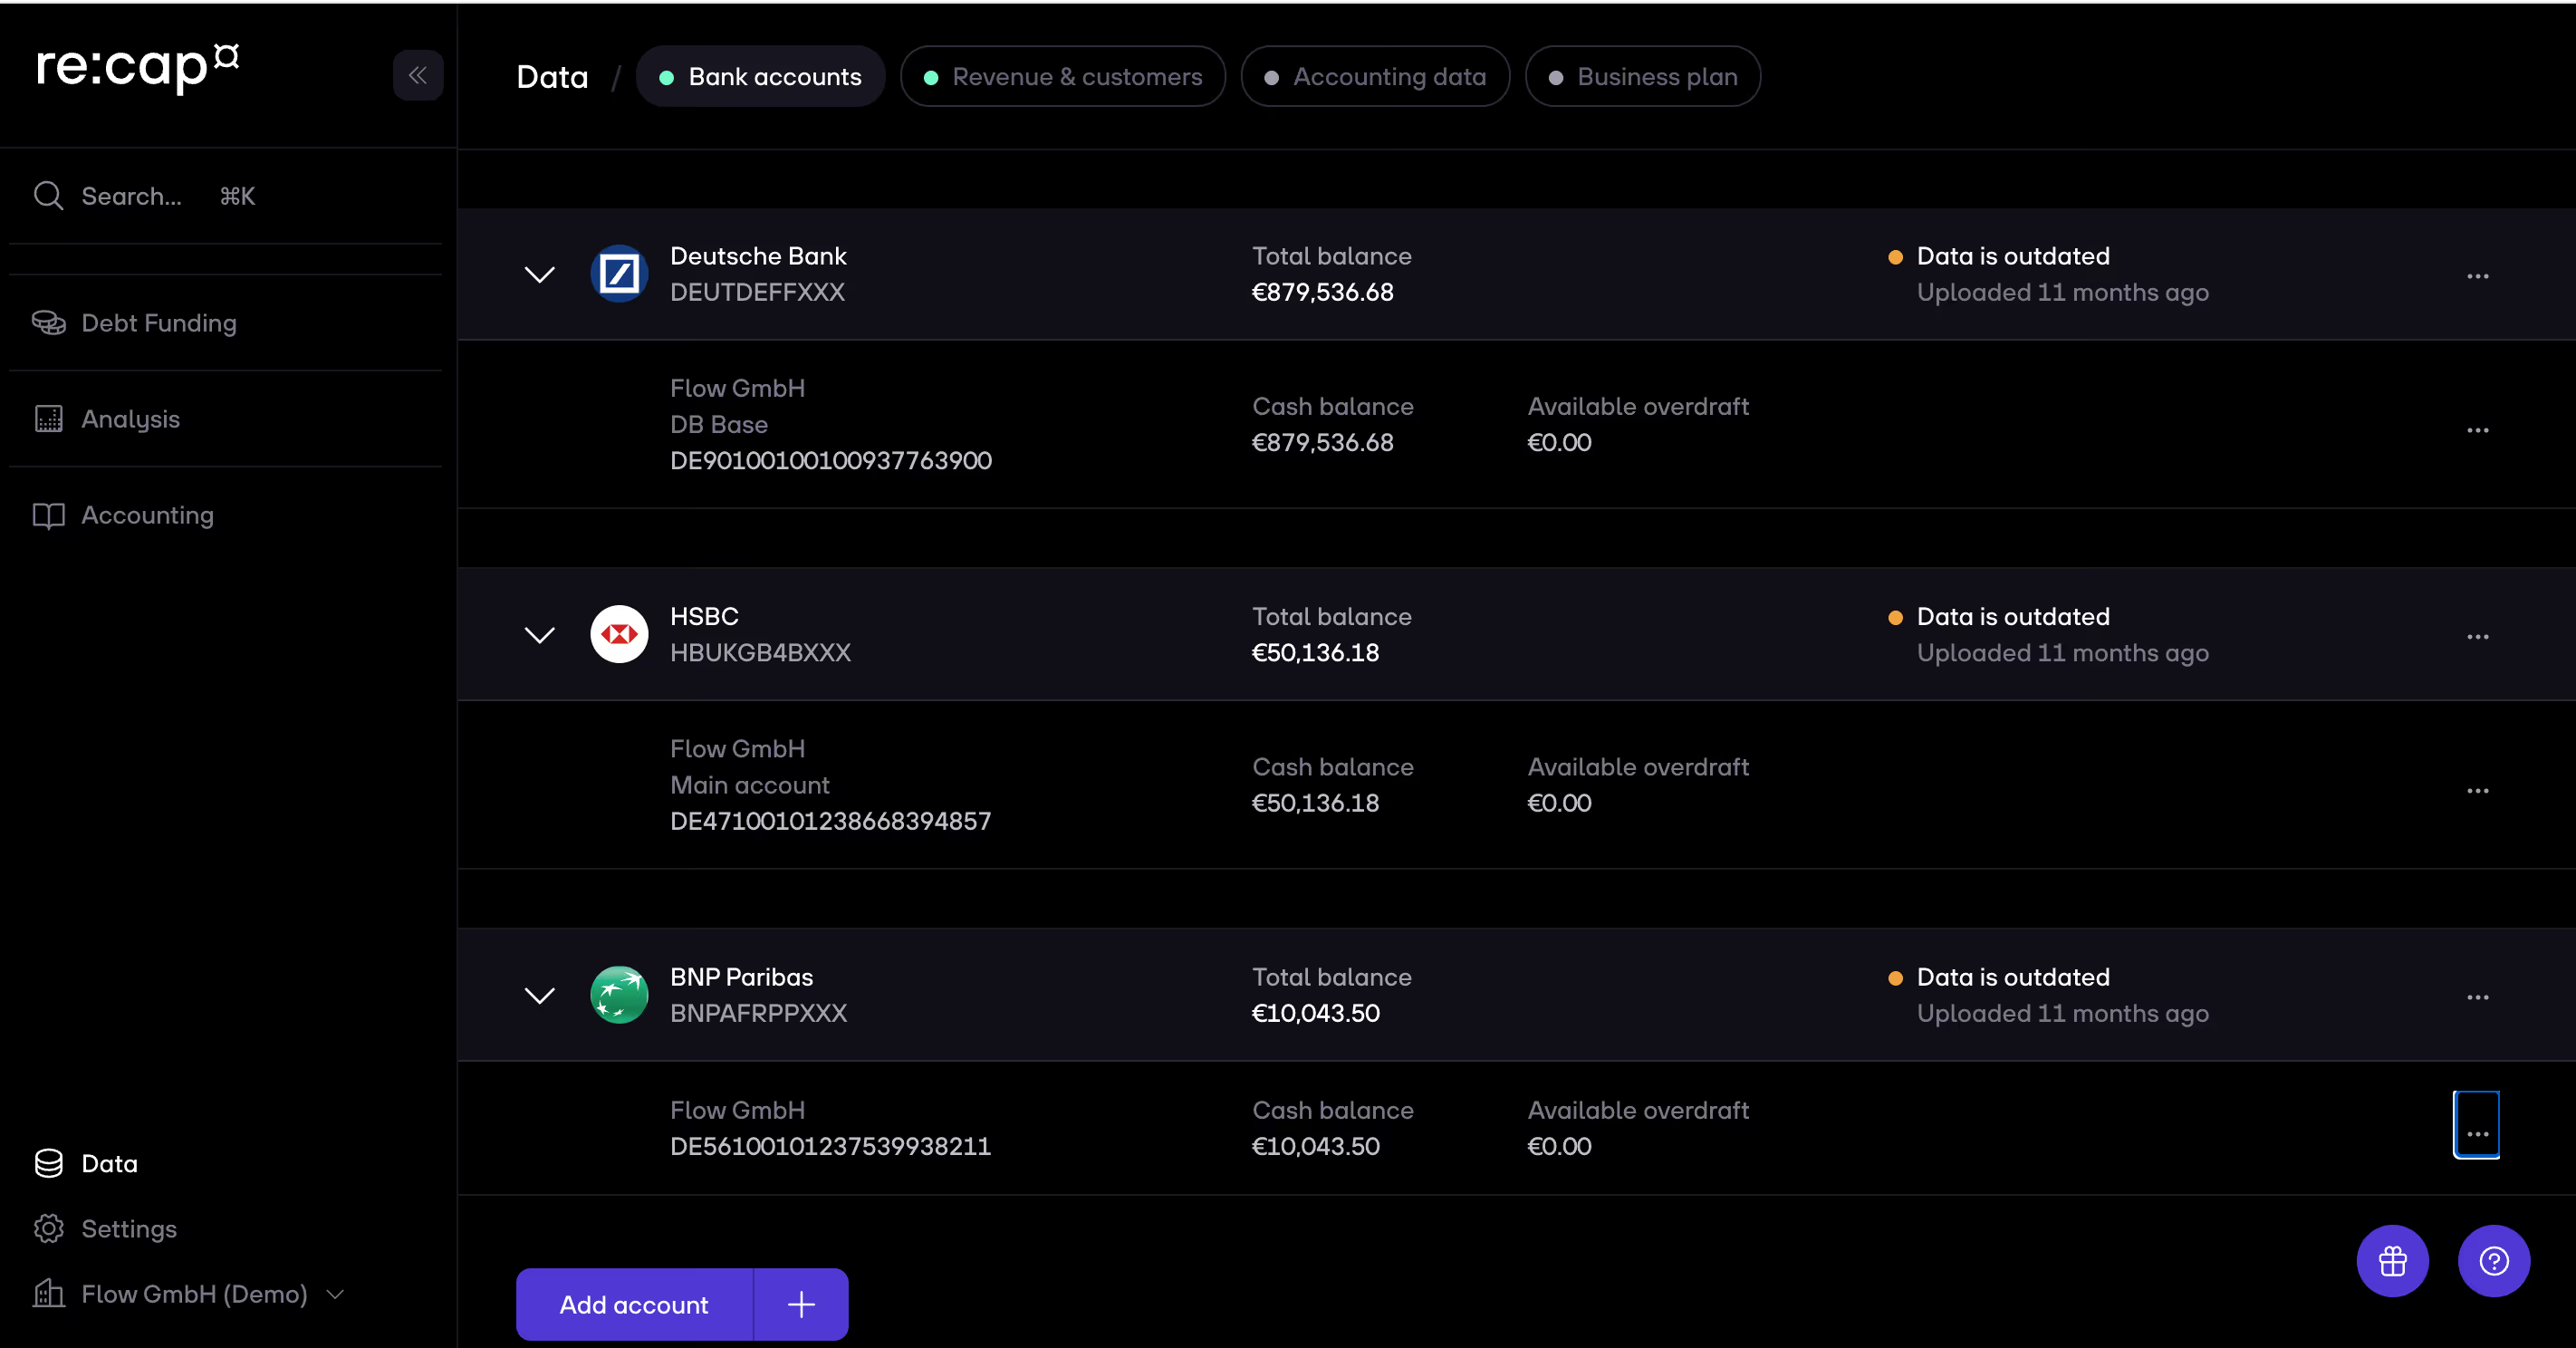
1. Click on Data in the navigation menu, go to bank accounts, and then navigate to the bank account you want to add more data.
2. Click on the three dots on the right side of the account you want to add more data from.
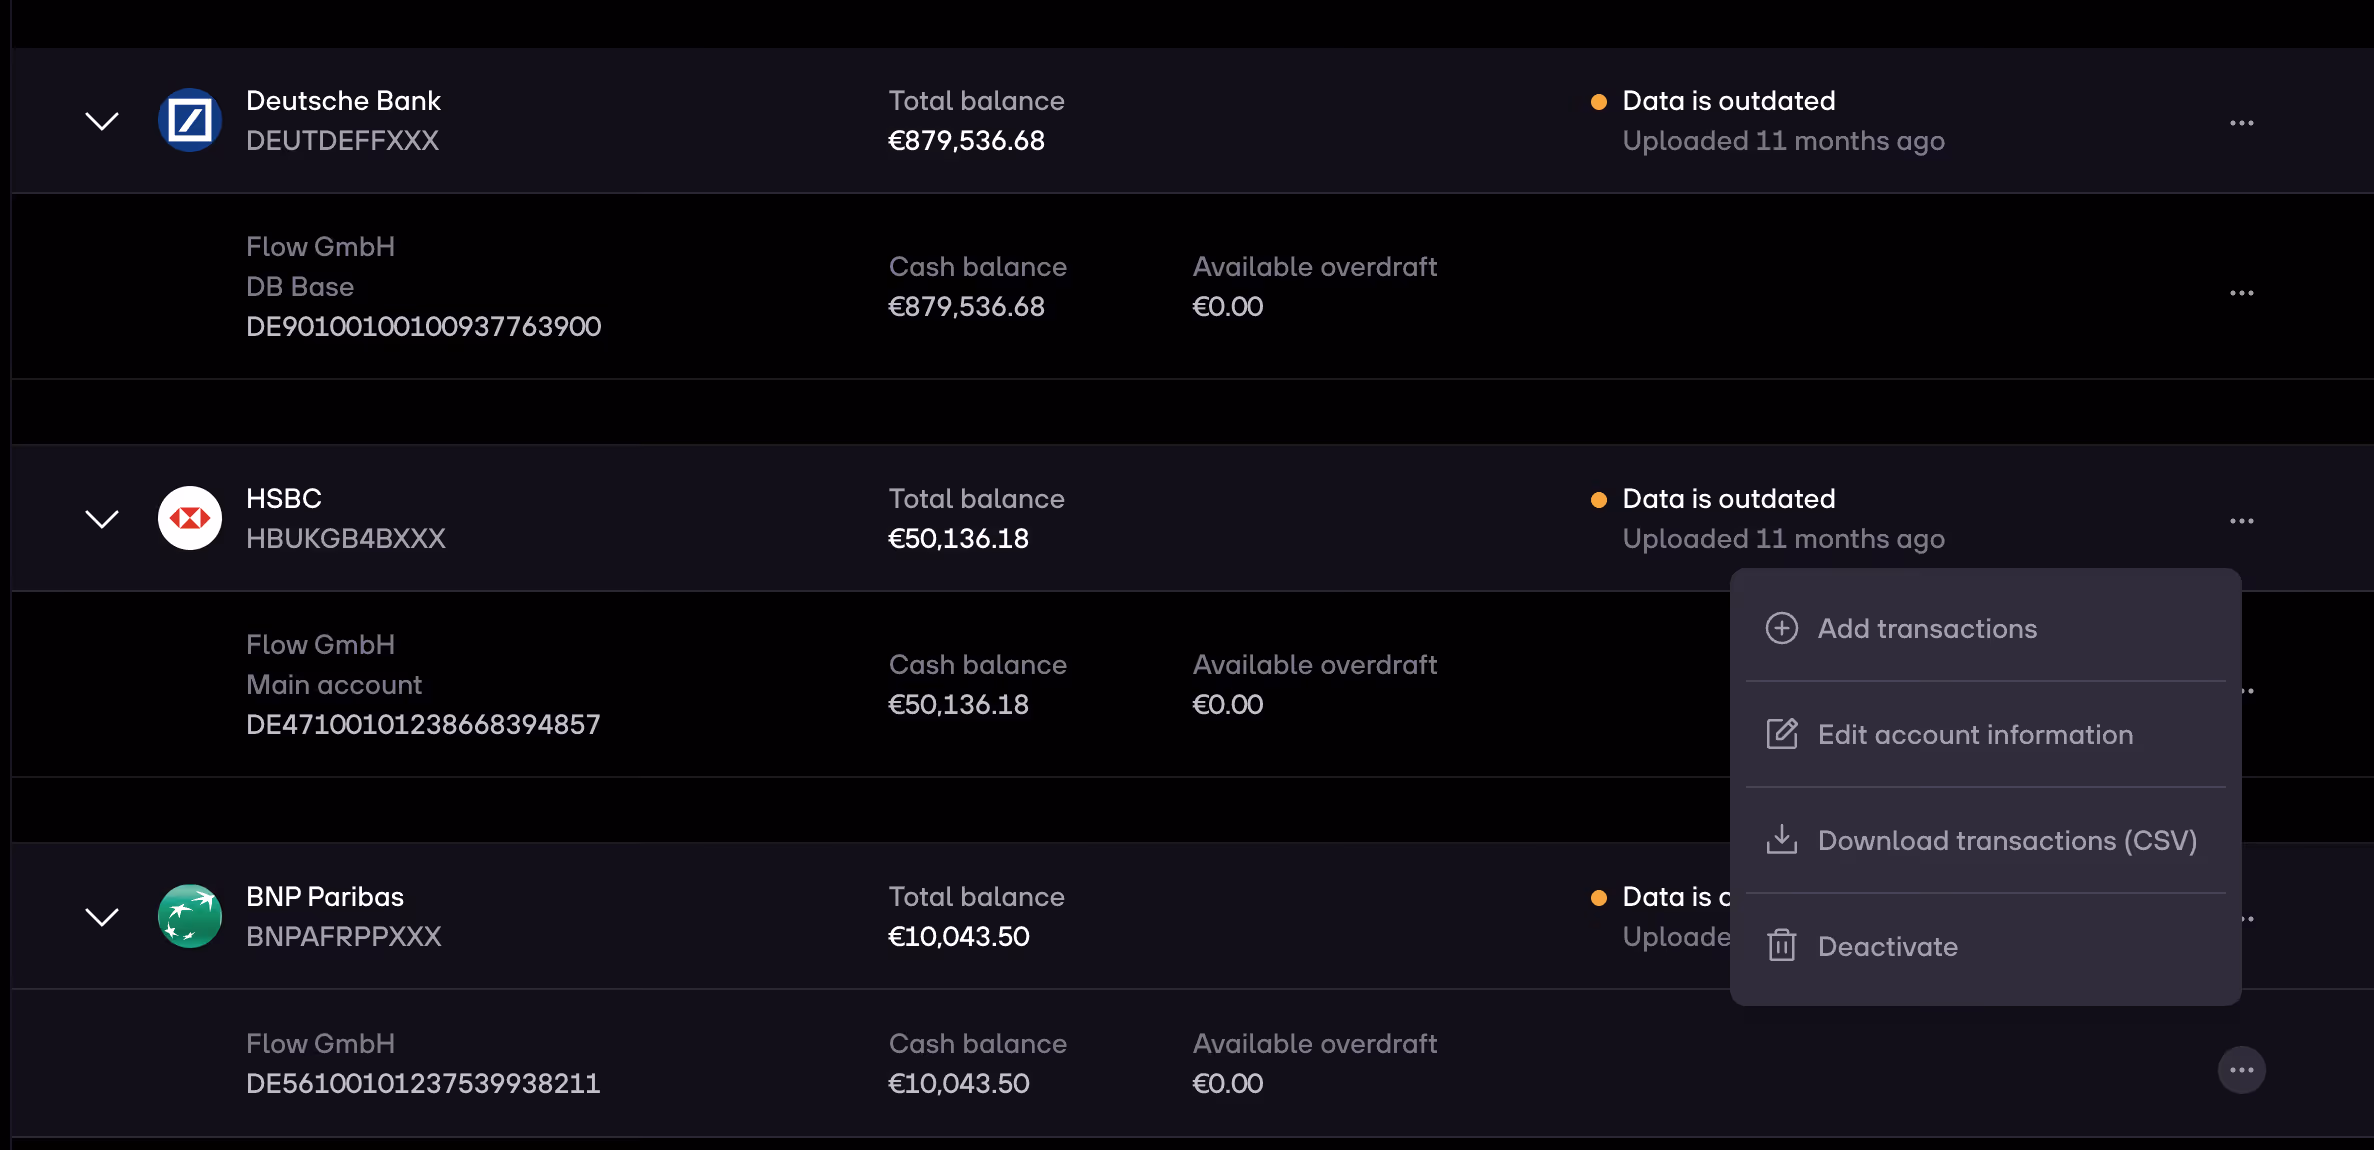
3. Click on Add transactions. A modal pops up. Click on Upload transactions next.

4. Select the bank statement you have just downloaded from your bank account by clicking on Browse files.

5. You will then see your uploaded sheet. Make sure that the row highlighted in grey is your header and not a transaction.

6. You now need to manually check the columns and make sure you match them correctly to each other.
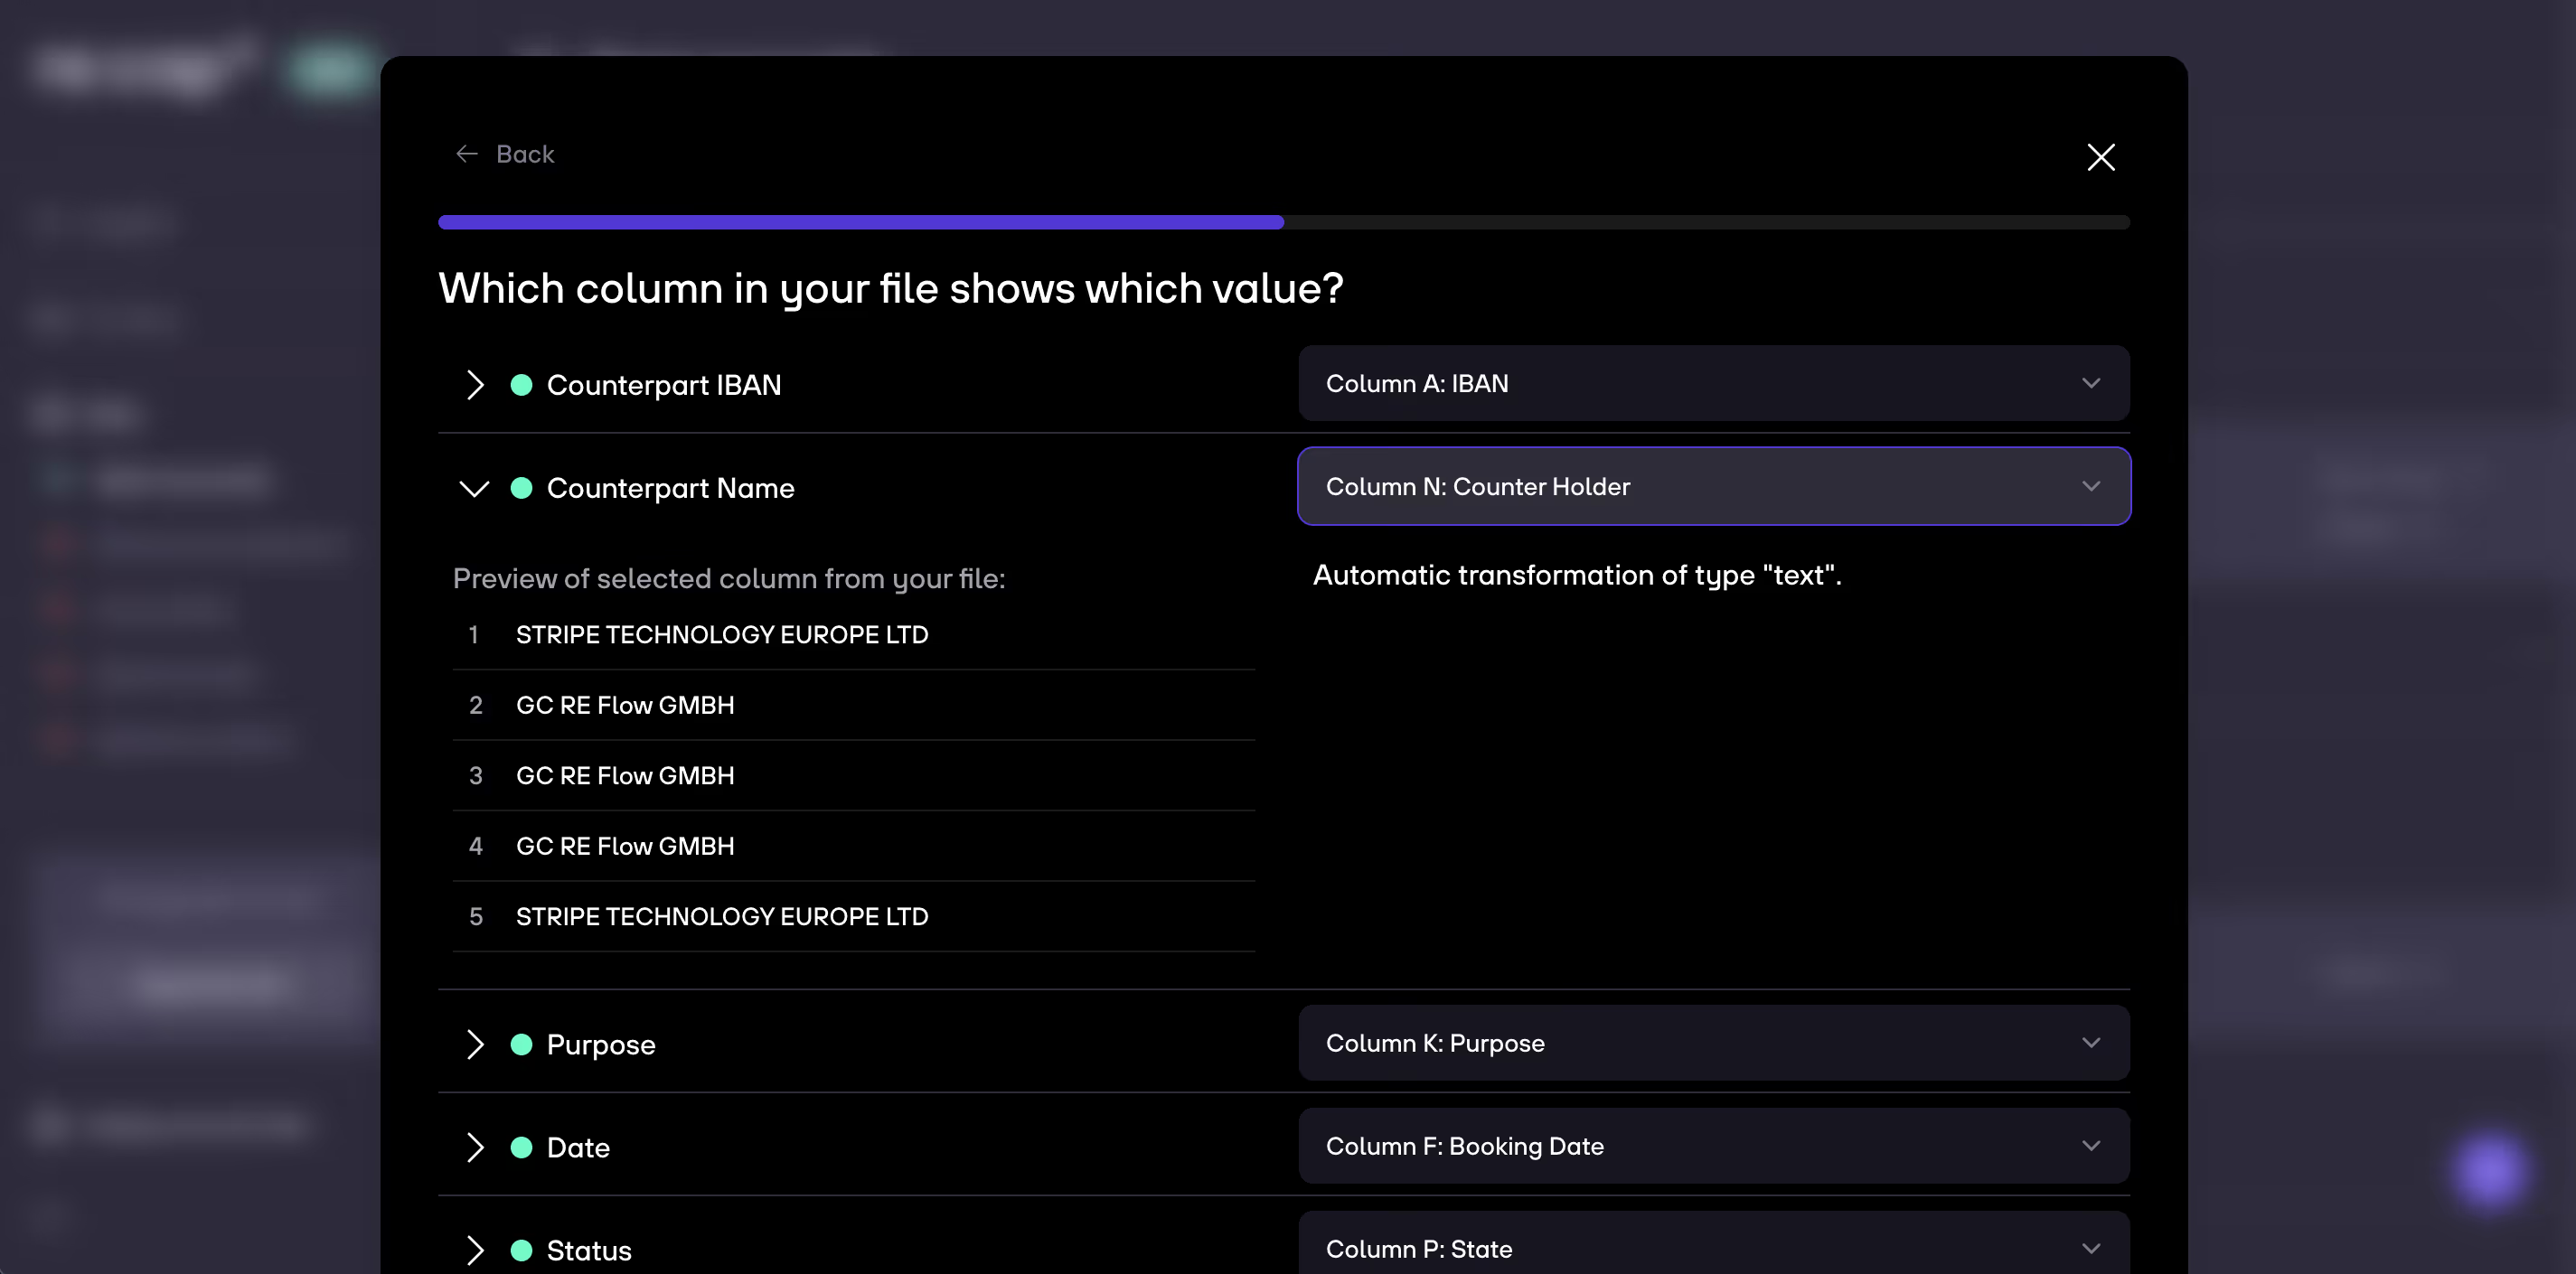
7. This also includes all columns, such as the one with dates.

8. Once all columns are correctly mapped, click on Continue.

9. You can now preview your transactions. Please check that your transactions are correctly being read and then click on Confirm.

10. You are then shown a summary of all your transactions. Click on Confirm and finish.

11. We will then start processing your transactions. You can close the modal while your transactions are being imported. This will take a couple of minutes.

12. Once everything is imported, you can see your manually added bank under Data > Bank accounts > Data sources.

2. Uploading a single transaction
It is also possible to uploading single transactions to your account, for e.g. in these cases:
- You have secured liquidity, but are still waiting for the money to appear in your account
- You cannot access your bank statement
Go the same way as previous stated. Instead of Upload statement, click Single transaction.

2. Input the required data:
- Counter IBAN: If you don’t have an IBAN, use an account identifier (A random set of characters in one string works)
- Counter name: Enter the originator, e.g. the investor’s name
- Date: If the expected date is in the future, use today’s date to make the amount appear in the insights already
- Purpose: Should be something describing the transaction or liquidity adjustment
- Amount: The total amount of the transaction that you want to add to the account
- Currency: Choose the right option from the dropdown
3. Tap on Continue once done. The transaction will now be visible in your list of transactions under Data > Bank accounts > Bank transactions.


