
In order to organize your transactions, you can either use re:cap categories, or your own custom categories. Here’s how you can easily do that.
1. Click on Settings in the navigation menu, and then on Liquidity reports at the top. Go to the Financial categories section.
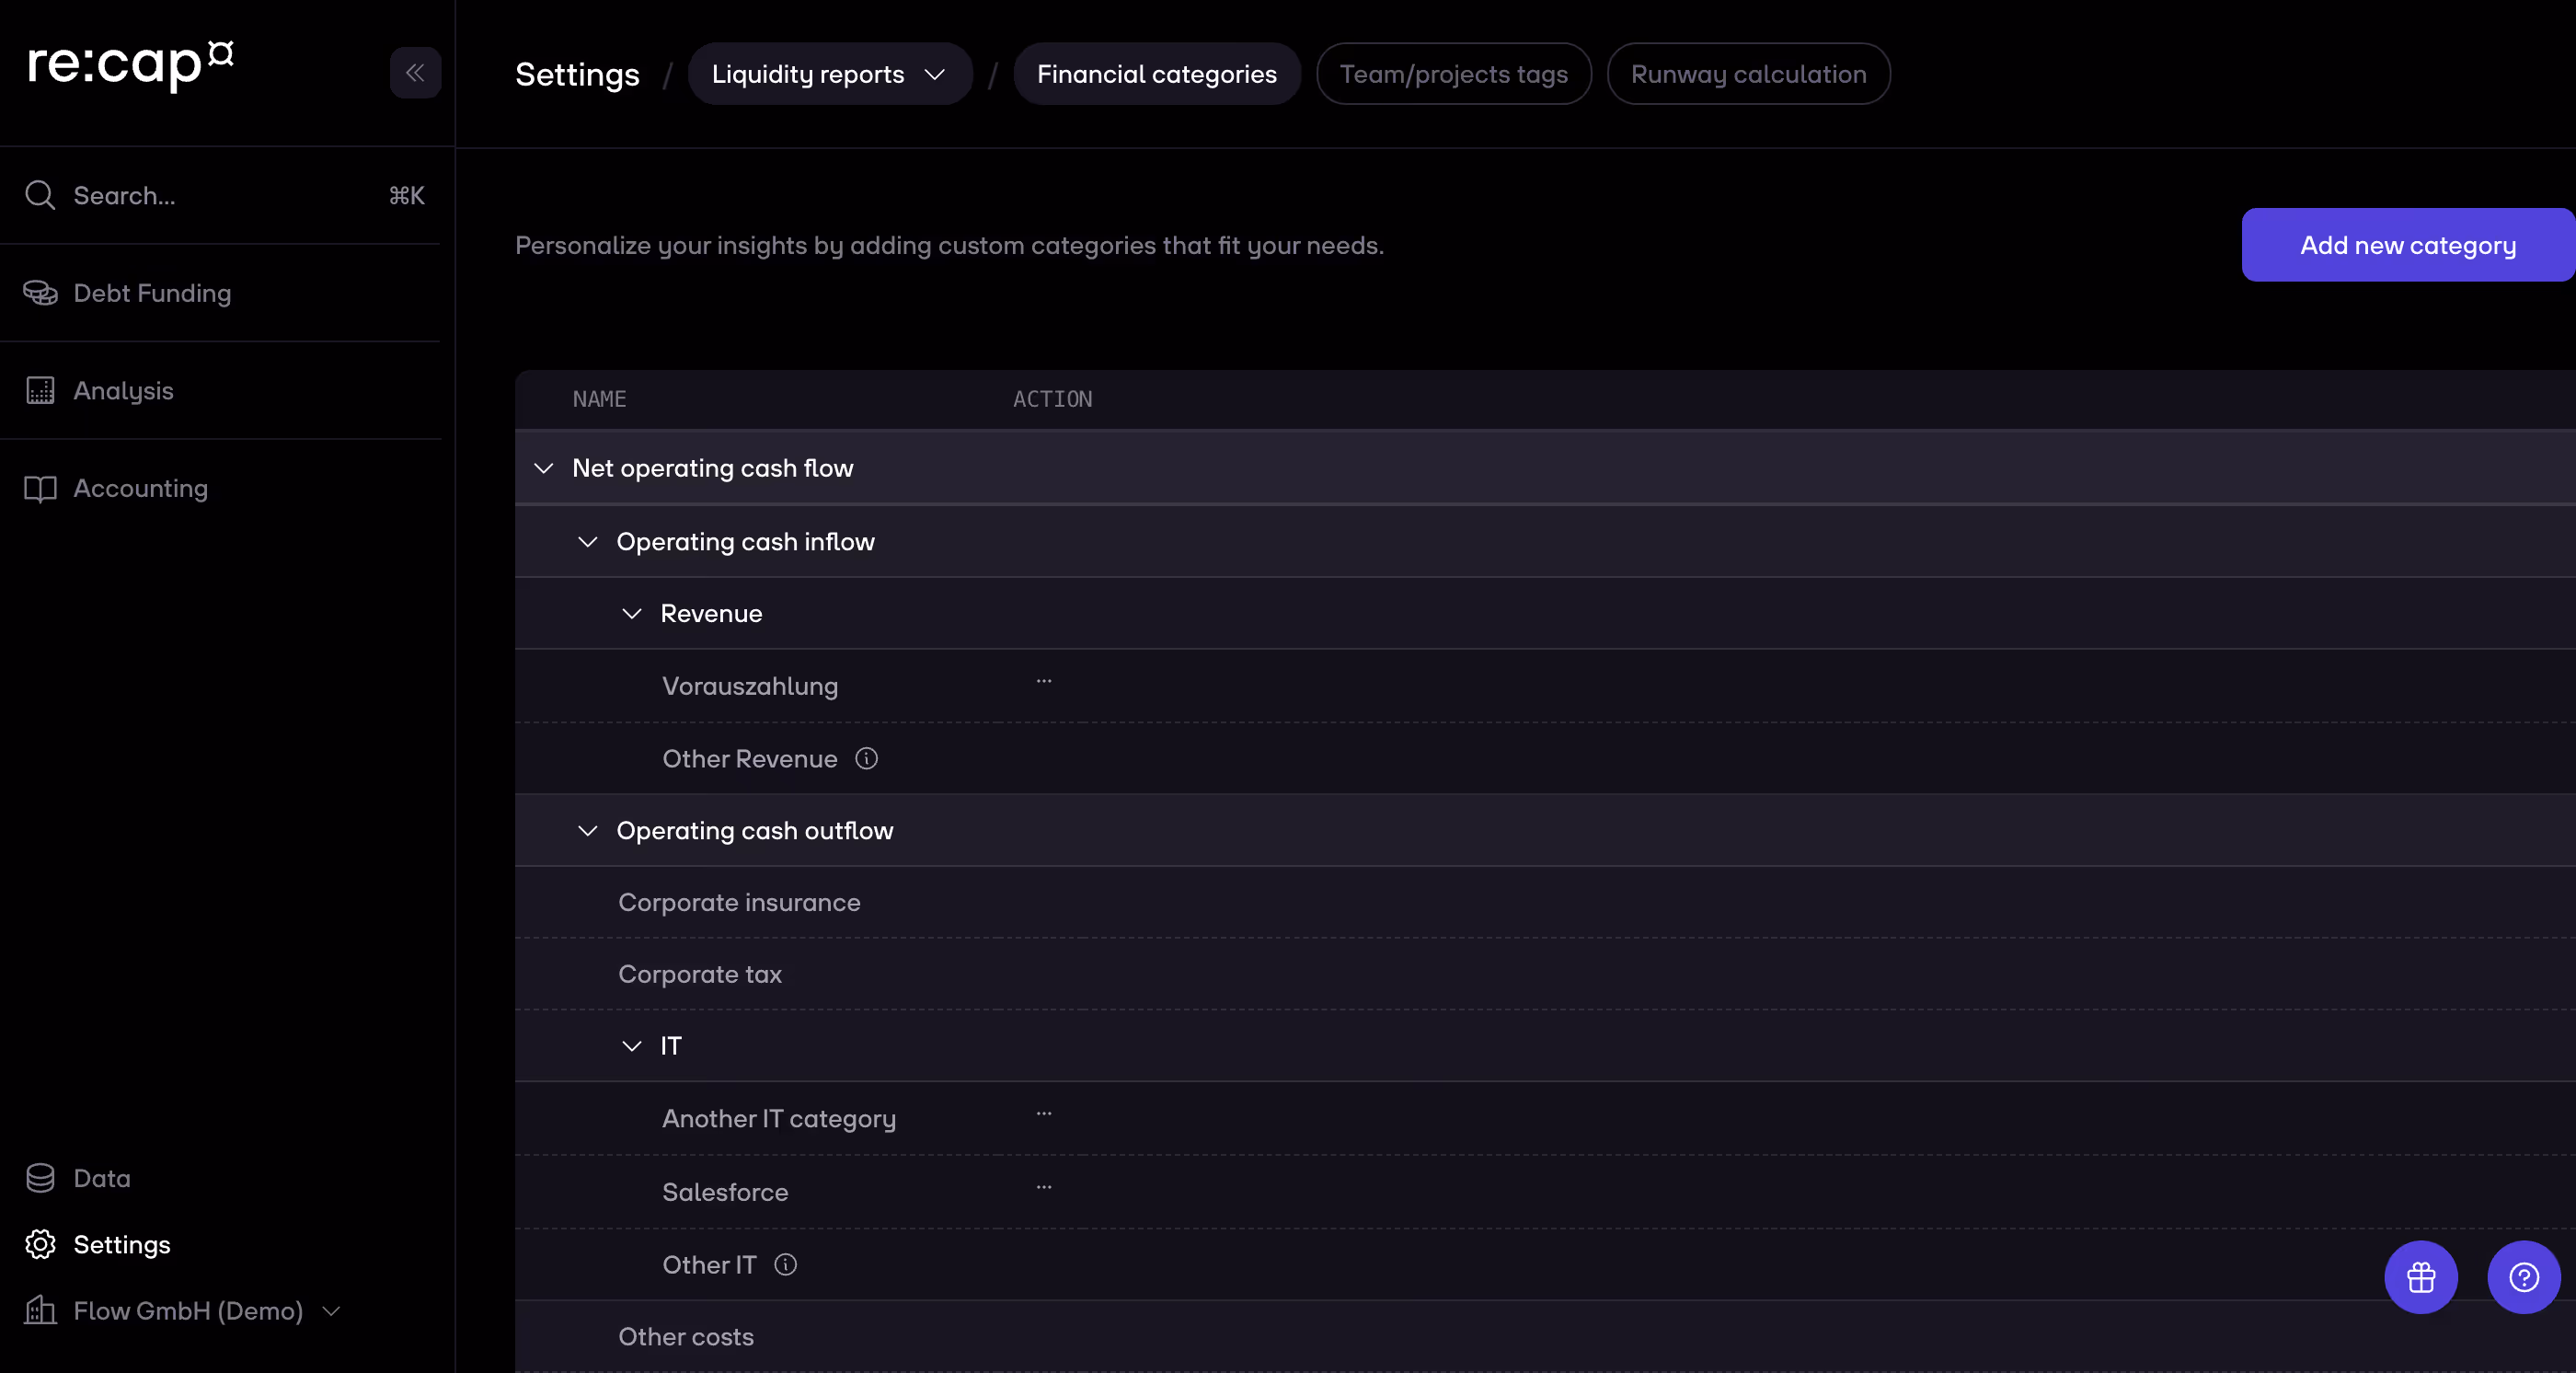
2. The default re:cap categories are now visible. Click on the Add new category button on the top right. All custom categories need to have a default top-level category. Choose the one that fits best, and then enter your custom category name in the field below. Click on Next to proceed.

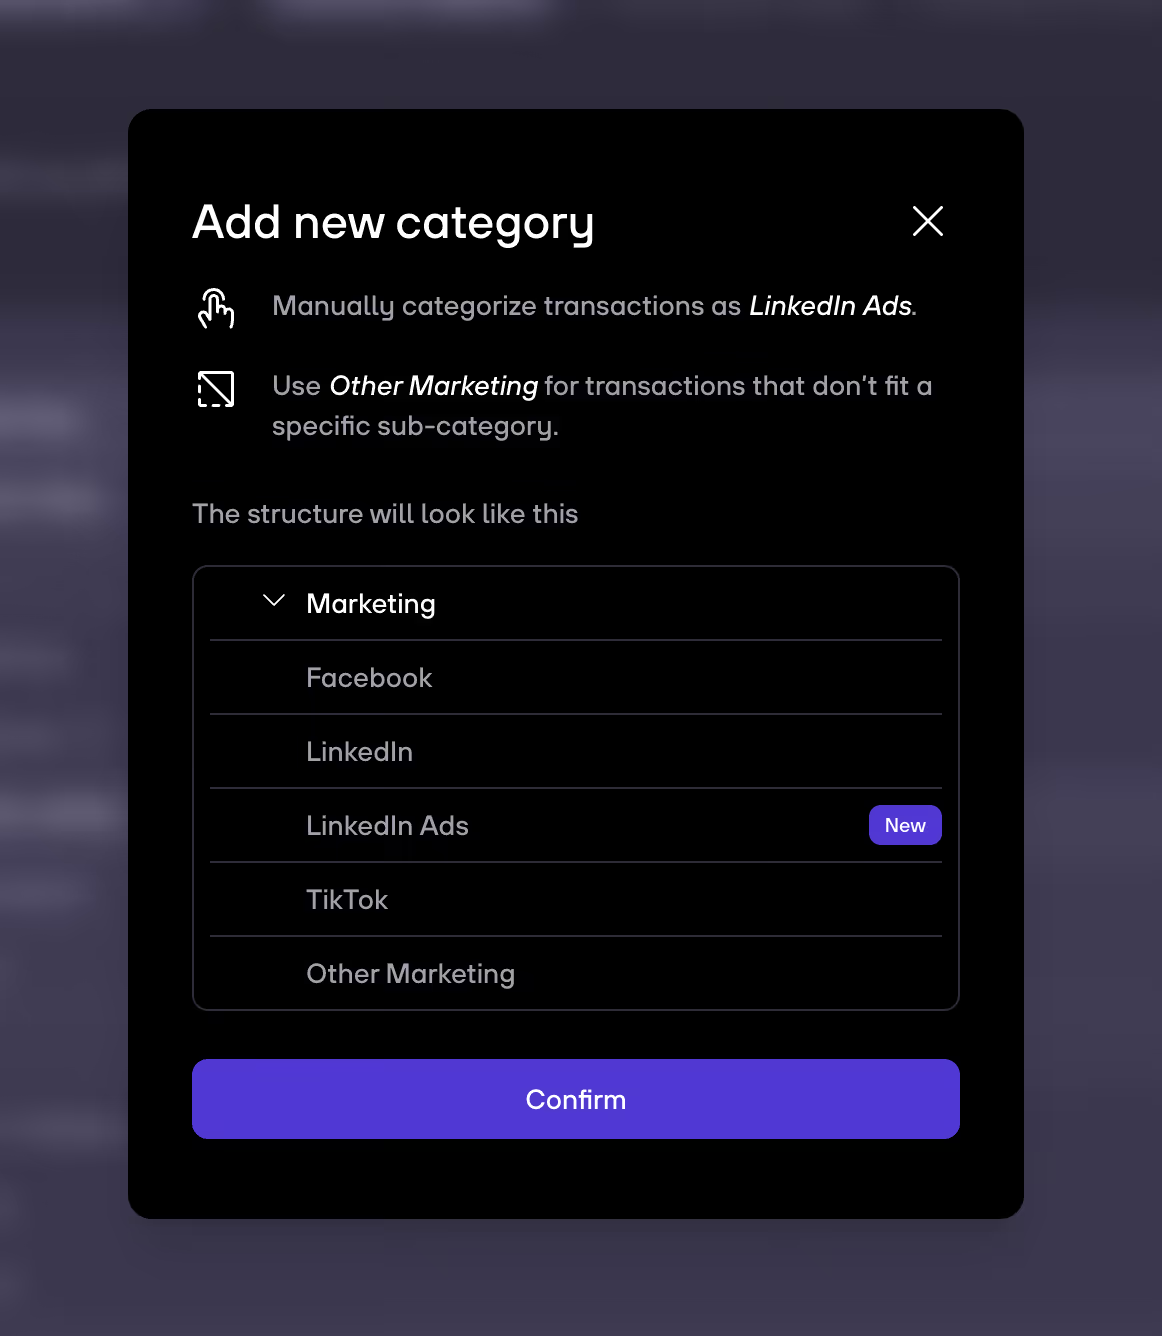
3. You will now be shown an explanation of how your existing transactions’ category will be changed. Tap on Confirm.
4. Your category has been created and is now visible in the list. Tap on Categorize transactions to go to the transaction view and start using your new category.


